

Learn modern web animation using GSAP 3 with 34 hands-on video lessons and practical projects — perfect for all skill levels.
1. Introduction
In this tutorial, we’ll build an Infinite Canvas: a spatial image gallery that extends endlessly in all directions. Images repeat seamlessly, users can pan freely on the X, Y, and Z axes using mouse, touch, or keyboard input, and everything is engineered for high refresh rates, including 120 fps on 120 Hz screens (hardware allowing).
The component is fully interactive and works smoothly on both desktop and mobile. Drag to pan, scroll or pinch to zoom, and explore the space without artificial bounds.
The goal is not just to render a lot of images, but to create the illusion of infinity while keeping the experience fluid and responsive.
Why this tutorial exists
I decided to write this after repeatedly seeing variations of this pattern over the years, building related systems myself in the past, and noticing a gap in clear, end-to-end explanations of how to actually implement it in a modern, production-ready way. I had previously explored a 2D version of an infinite drag grid without WebGL, and this article is the result of pushing that idea further into full 3D. The goal here is not to present a new concept, but to document a concrete approach, the tradeoffs behind it, and the reasoning that shaped the implementation.
The infinite, spatial gallery pattern explored in this tutorial is not a new idea. Variations of this approach have appeared in different forms over the years. In particular, Chakib Mazouni has publicly explored a similar visual pattern in prior experiments. This tutorial presents my own implementation and engineering approach, and focuses on how the system is built and reasoned about end to end.
2. Concept: Faking Infinity
True infinity is not practical in rendering. Instead, we fake it.
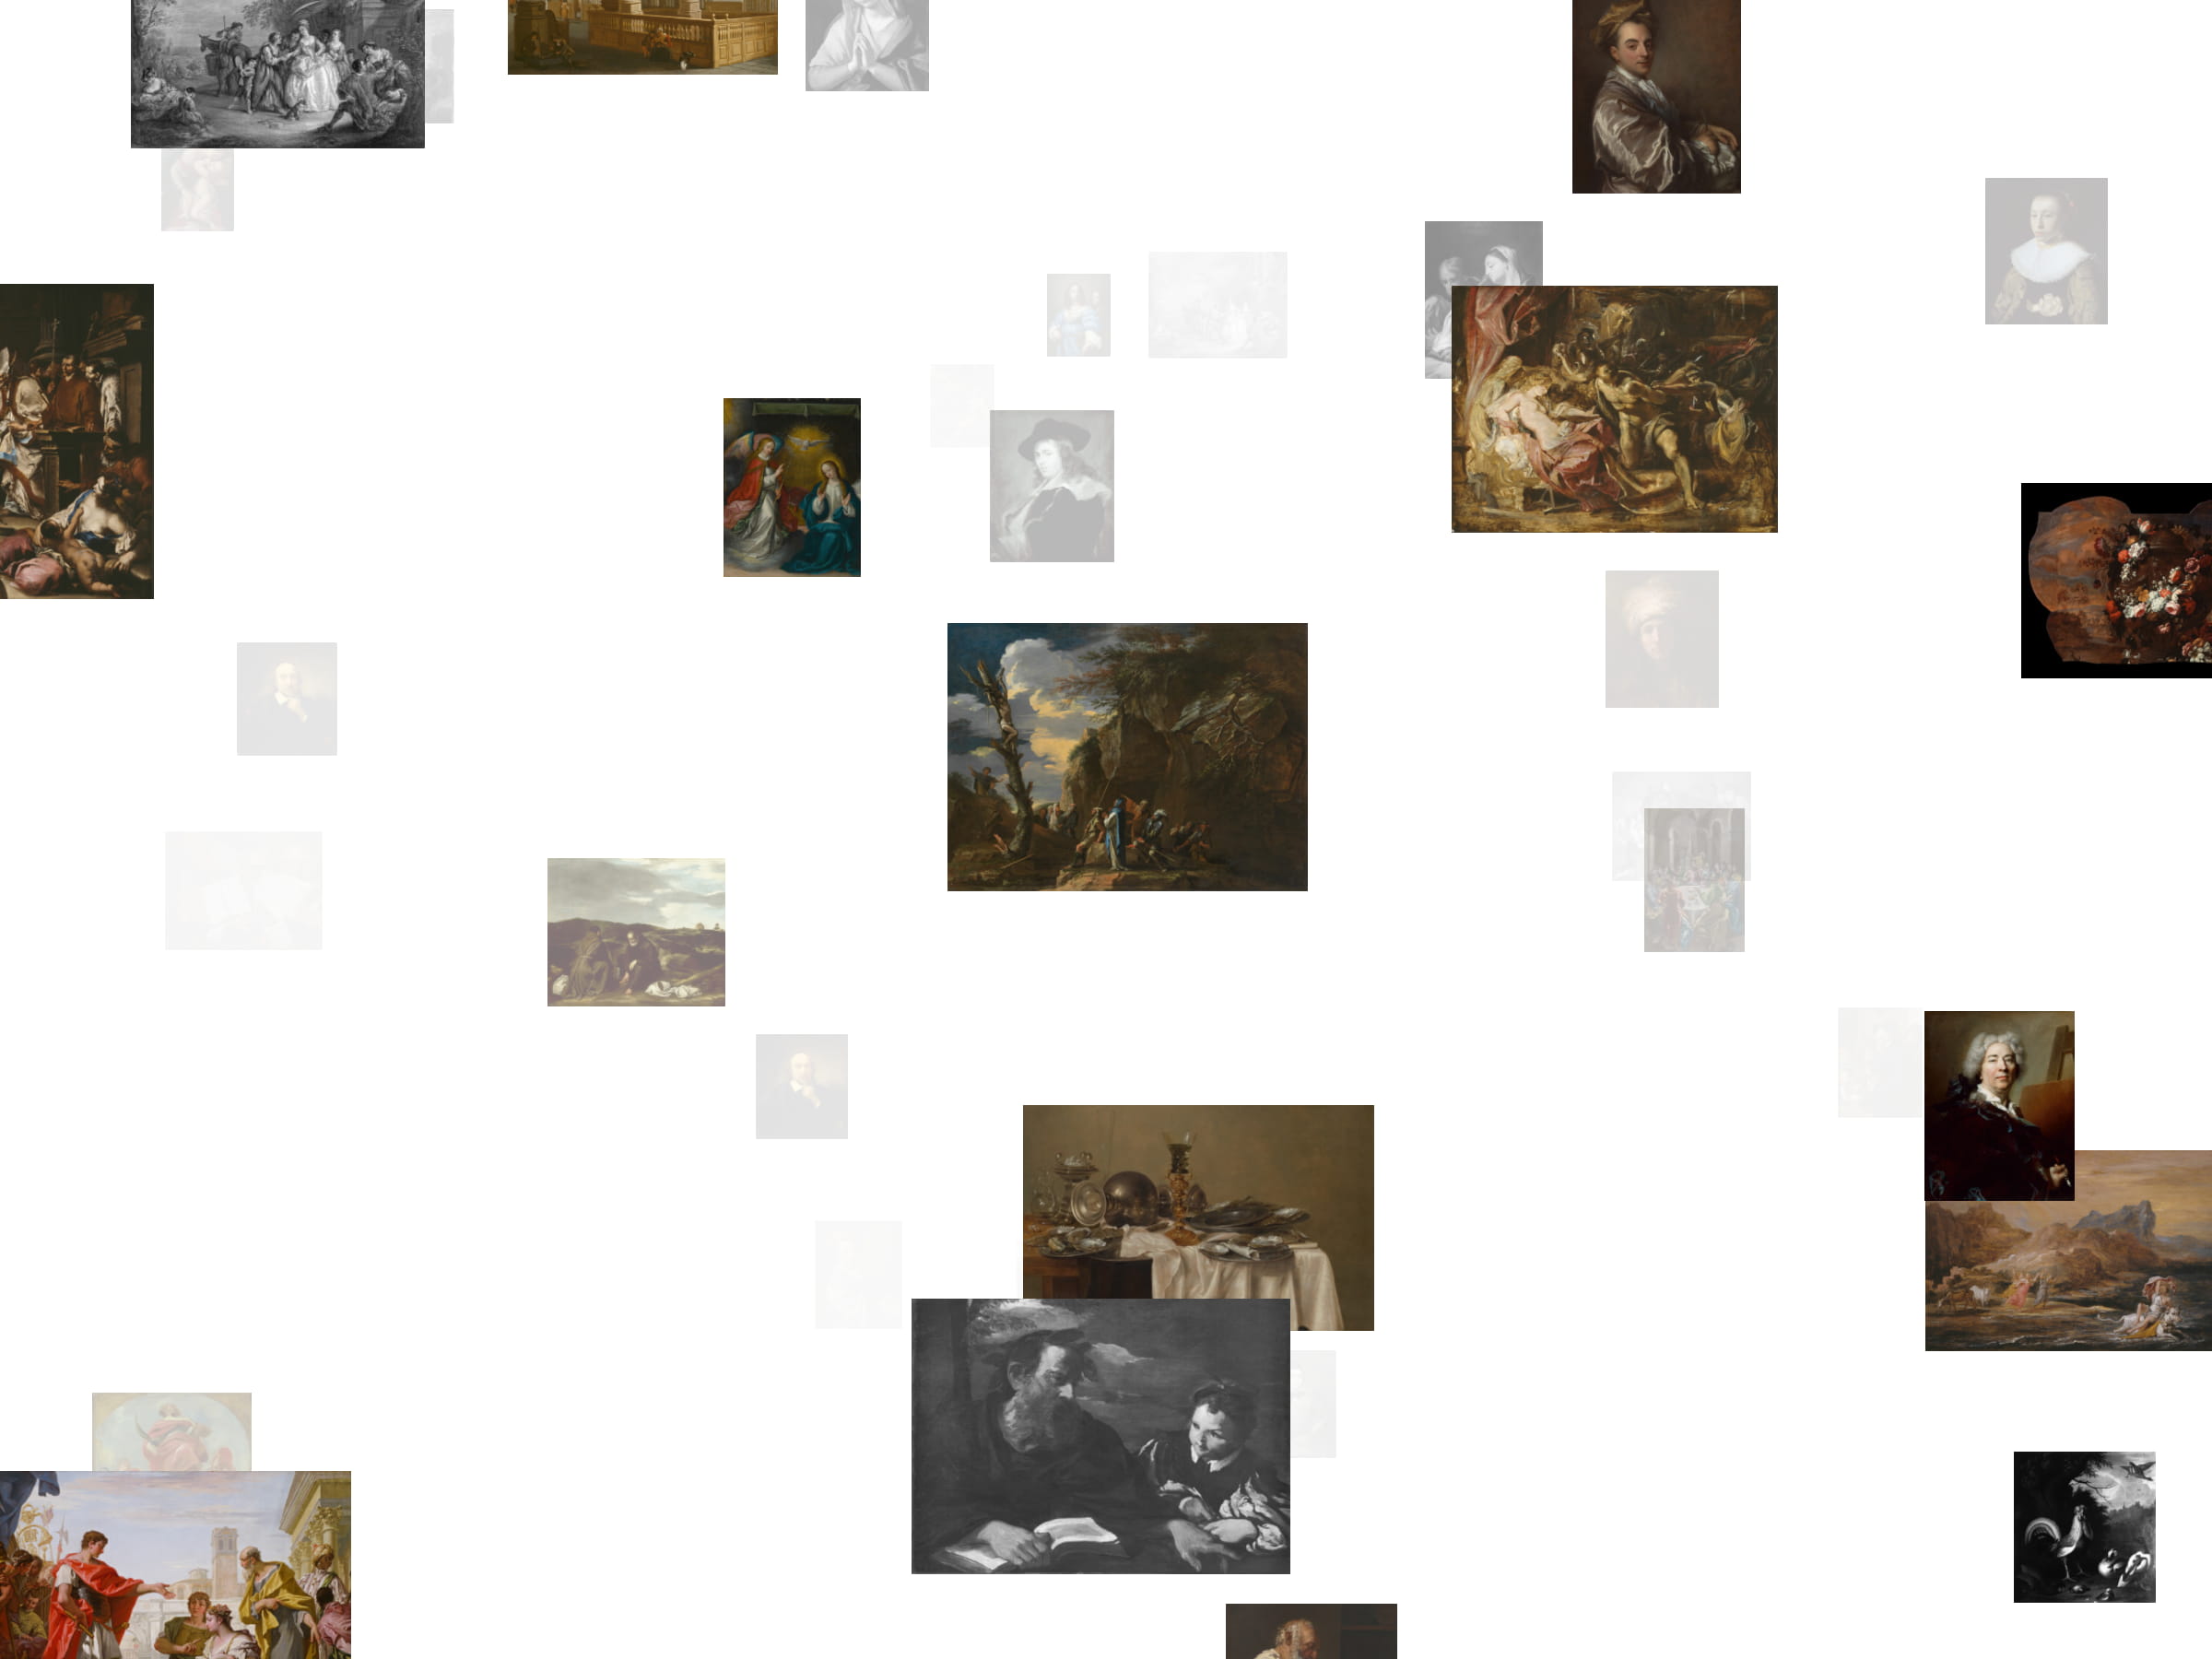
For this demo, the canvas is populated with Baroque-era artworks, because if you’re going to drift endlessly through space, you might as well do it surrounded by dramatic lighting and excessive chiaroscuro (the images are sourced from the Art Institute of Chicago Open Access collection).
The core idea is simple: the camera moves freely, but the world is generated only around the camera. Space is divided into equally sized chunks, and only the chunks within a certain radius of the camera exist at any given time.
Each chunk contains a deterministic layout of image planes. Because the layout is deterministic, chunks can be destroyed and recreated without visual discontinuities. As you move, old chunks fall away and new ones appear, creating the illusion of an endless canvas.
Think of it as an infinite grid where only a small window is ever rendered.
3. Implementation
Lazy-loading the Scene
The Infinite Canvas is heavy by nature, so we lazy-load the entire scene. This keeps the initial bundle light and avoids blocking the initial render while Three.js initializes.
const LazyInfiniteCanvasScene = React.lazy(() =>
  import("./scene").then((mod) => ({ default: mod.InfiniteCanvasScene }))
);


export function InfiniteCanvas(props: React.ComponentProps) {
  return (


  );
}
Using React.Suspense here is intentional. The fallback is null because the canvas is usually a full-bleed element and we don’t want layout shifts. If you do want a loader, you can replace it with a progress UI driven by the texture loading progress later in the article.
Chunk-Based World Generation
We divide space into a 3D grid of equally sized cubic chunks. The camera can travel indefinitely, but we only keep a fixed number of chunks alive around the camera.
First we compute the current chunk coordinates from the camera’s base position:
const cx = Math.floor(s.basePos.x / CHUNK_SIZE);
const cy = Math.floor(s.basePos.y / CHUNK_SIZE);
const cz = Math.floor(s.basePos.z / CHUNK_SIZE);
Then, every time the camera crosses into a new chunk, we regenerate the active chunk list using a precomputed set of offsets. The diagram below illustrates this: the camera (marked C) sits in the center chunk, surrounded by its immediate neighbors in all directions.
       Z-1 (behind)          Z=0 (camera depth)       Z+1 (ahead)
      ┌─────┬─────┬─────┐   ┌─────┬─────┬─────┐   ┌─────┬─────┬─────┐
      │-1,-1│ 0,-1│ 1,-1│   │-1,-1│ 0,-1│ 1,-1│   │-1,-1│ 0,-1│ 1,-1│
      ├─────┼─────┼─────┤   ├─────┼─────┼─────┤   ├─────┼─────┼─────┤
      │-1,0 │ 0,0 │ 1,0 │   │-1,0 │  C  │ 1,0 │   │-1,0 │ 0,0 │ 1,0 │
      ├─────┼─────┼─────┤   ├─────┼─────┼─────┤   ├─────┼─────┼─────┤
      │-1,1 │ 0,1 │ 1,1 │   │-1,1 │ 0,1 │ 1,1 │   │-1,1 │ 0,1 │ 1,1 │
      └─────┴─────┴─────┘   └─────┴─────┴─────┘   └─────┴─────┴─────┘
This 3×3×3 neighborhood means 27 chunks are active at any time, a fixed cost regardless of how far the camera has traveled.
setChunks(
  CHUNK_OFFSETS.map((o) => ({
    key: `${ucx + o.dx},${ucy + o.dy},${ucz + o.dz}`,
    cx: ucx + o.dx,
    cy: ucy + o.dy,
    cz: ucz + o.dz,
  }))
);
Two important details here:
- The render cost stays flat because the number of chunks is constant.
- Chunk IDs are stable strings, so React can mount and unmount chunk groups predictably.
Deterministic Plane Layouts
Inside each chunk we generate a layout of image planes. The layout must be deterministic, the same chunk coordinates should always produce the same planes. That way we can destroy and recreate chunks freely without visual jumps.
Chunk layout generation is deferred so it never competes with input handling. If the browser supports it, we schedule it during idle time:
React.useEffect(() => {
  let canceled = false;
  const run = () => !canceled && setPlanes(generateChunkPlanesCached(cx, cy, cz));

  if (typeof requestIdleCallback !== "undefined") {
    const id = requestIdleCallback(run, { timeout: 100 });
    return () => {
      canceled = true;
      cancelIdleCallback(id);
    };
  }

  const id = setTimeout(run, 0);
  return () => {
    canceled = true;
    clearTimeout(id);
  };
}, [cx, cy, cz]);
The generateChunkPlanes function converts chunk coordinates into a deterministic seed, then uses it to place planes randomly within the chunk bounds:
export const generateChunkPlanes = (cx: number, cy: number, cz: number): PlaneData[] => {
  const planes: PlaneData[] = [];
  const seed = hashString(`${cx},${cy},${cz}`);

  for (let i = 0; i < 5; i++) {
    const s = seed + i * 1000;
    const r = (n: number) => seededRandom(s + n);
    const size = 12 + r(4) * 8;

    planes.push({
      id: `${cx}-${cy}-${cz}-${i}`,
      position: new THREE.Vector3(
        cx * CHUNK_SIZE + r(0) * CHUNK_SIZE,
        cy * CHUNK_SIZE + r(1) * CHUNK_SIZE,
        cz * CHUNK_SIZE + r(2) * CHUNK_SIZE
      ),
      scale: new THREE.Vector3(size, size, 1),
      mediaIndex: Math.floor(r(5) * 1_000_000),
    });
  }

  return planes;
};
Results are cached with LRU eviction to avoid regenerating layouts the user has already visited:
const MAX_PLANE_CACHE = 256;
const planeCache = new Map();

export const generateChunkPlanesCached = (cx: number, cy: number, cz: number): PlaneData[] => {
  const key = `${cx},${cy},${cz}`;
  const cached = planeCache.get(key);
  if (cached) {
    // Move to end for LRU ordering
    planeCache.delete(key);
    planeCache.set(key, cached);
    return cached;
  }

  const planes = generateChunkPlanes(cx, cy, cz);
  planeCache.set(key, planes);

  // Evict oldest entries
  while (planeCache.size > MAX_PLANE_CACHE) {
    const firstKey = planeCache.keys().next().value;
    if (firstKey) planeCache.delete(firstKey);
  }

  return planes;
};
Once we have a list of plane slots, we map them to real media. The modulo makes a finite dataset repeat indefinitely:
const mediaItem = media[plane.mediaIndex % media.length];The result is a “repeatable universe”: limited inputs, unlimited traversal.
Media Planes and Fading Logic
Each image is a PlaneGeometry with a MeshBasicMaterial. The interesting part is not the geometry, but when it’s visible.
We fade planes based on two distances:
- Grid distance: how far the chunk is from the camera chunk
- Depth distance: how far the plane is from the camera along Z
Here’s the core fade computation, executed on every frame for visible (or recently visible) planes:
const dist = Math.max(
  Math.abs(chunkCx - cam.cx),
  Math.abs(chunkCy - cam.cy),
  Math.abs(chunkCz - cam.cz)
);

const absDepth = Math.abs(position.z - cam.camZ);

const gridFade =
dist <= RENDER_DISTANCE
? 1
: Math.max(0, 1 - (dist - RENDER_DISTANCE) / Math.max(CHUNK_FADE_MARGIN, 0.0001));

const depthFade =
absDepth <= DEPTH_FADE_START
? 1
: Math.max(0, 1 - (absDepth - DEPTH_FADE_START) / Math.max(DEPTH_FADE_END - DEPTH_FADE_START, 0.0001));

const target = Math.min(gridFade, depthFade * depthFade);
state.opacity = target < INVIS_THRESHOLD && state.opacity < INVIS_THRESHOLD
? 0
: lerp(state.opacity, target, 0.18);
And here’s the practical optimization that keeps overdraw and sorting under control. When a plane is fully opaque we enable depth writing, when it fades out we eventually disable it and hide the mesh entirely:
const isFullyOpaque = state.opacity > 0.99;
material.opacity = isFullyOpaque ? 1 : state.opacity;
material.depthWrite = isFullyOpaque;
mesh.visible = state.opacity > INVIS_THRESHOLD;
This “fade then disable” approach gives smooth transitions, but it also avoids paying for invisible work.
Camera Controller
The controller turns input into motion, with inertia.
We collect input (mouse drag, wheel, touch gestures, keyboard), accumulate it into a target velocity, and then ease the actual velocity toward it. This avoids twitchy movement and makes the space feel physical.
Pointer panning updates the target velocity while dragging:
if (s.isDragging) {
  s.targetVel.x -= (e.clientX - s.lastMouse.x) * 0.025;
  s.targetVel.y += (e.clientY - s.lastMouse.y) * 0.025;
  s.lastMouse = { x: e.clientX, y: e.clientY };
}
Zooming is handled via wheel scroll (desktop) and pinch distance (touch). We accumulate scroll into scrollAccum and apply it gradually:
s.scrollAccum += e.deltaY * 0.006;
s.targetVel.z += s.scrollAccum;
s.scrollAccum *= 0.8;
Inertia is the blend between current and target velocity:
s.velocity.x = lerp(s.velocity.x, s.targetVel.x, VELOCITY_LERP);
s.velocity.y = lerp(s.velocity.y, s.targetVel.y, VELOCITY_LERP);
s.velocity.z = lerp(s.velocity.z, s.targetVel.z, VELOCITY_LERP);

s.basePos.x += s.velocity.x;
s.basePos.y += s.velocity.y;
s.basePos.z += s.velocity.z;

camera.position.set(s.basePos.x + s.drift.x, s.basePos.y + s.drift.y, s.basePos.z);

s.targetVel.x *= VELOCITY_DECAY;
s.targetVel.y *= VELOCITY_DECAY;
s.targetVel.z *= VELOCITY_DECAY;
The important bit is that we update basePos rather than directly pushing the camera from every event. That gives you one predictable, frame-based integration point, which also makes chunk updates much easier to reason about.
4. Refinement
Performance
This component is built with performance as a first-class concern. Every part of the system is designed to minimize frame time and avoid spikes, resulting in a consistently smooth experience. In practice, the canvas is capable of reaching up to 120 fps on high-refresh displays, and frame rates generally remain very high on both desktop and mobile devices.
1) Throttle chunk updates while zooming
When users zoom quickly, the camera can cross multiple chunk boundaries in a short time. Rebuilding chunk lists on every boundary is wasteful, so updates are throttled based on zooming state and Z velocity:
const isZooming = Math.abs(s.velocity.z) > 0.05;

const throttleMs = getChunkUpdateThrottleMs(isZooming, Math.abs(s.velocity.z));

if (s.pendingChunk && shouldThrottleUpdate(s.lastChunkUpdate, throttleMs, now)) {
  const { cx: ucx, cy: ucy, cz: ucz } = s.pendingChunk;
  s.pendingChunk = null;
  s.lastChunkUpdate = now;

  setChunks(
    CHUNK_OFFSETS.map((o) => ({
      key: `${ucx + o.dx},${ucy + o.dy},${ucz + o.dz}`,
      cx: ucx + o.dx,
      cy: ucy + o.dy,
      cz: ucz + o.dz,
    }))
  );
}
2) Cap pixel density and disable expensive defaults
We clamp DPR (especially on touch devices), and explicitly opt out of antialiasing. This favors stable frame time over slightly softer edges, which is a good tradeoff for a scene full of layered quads.
const dpr = Math.min(window.devicePixelRatio || 1, isTouchDevice ? 1.25 : 1.5);


  {/* ... */}
3) Don’t render what you can’t see
Fading is only a transition. Once a plane is fully transparent, it is removed from rendering and no longer writes to the depth buffer. This keeps the scene lightweight even when many planes overlap.
Responsiveness
The canvas adapts automatically to:
- Touch vs mouse input
- High-DPI displays
- Device performance constraints
Controls and hints update dynamically depending on the input method.
5. Wrap-Up
The Infinite Canvas demonstrates how to create the illusion of boundless space without boundless cost. The key techniques (chunk-based streaming, deterministic generation, distance-based culling, and inertia-driven input) combine into a system that feels expansive but stays predictable.
What We Built
- A 3D infinite grid that renders only what’s near the camera
- Smooth, inertia-based navigation for mouse, touch, and keyboard
- A fade system that gracefully handles planes entering and leaving view
- Performance tuned for 120 fps on capable hardware
Where to Go Next
Click-to-focus interaction. Raycast from pointer position to detect which plane the user clicked, then animate the camera to center on it. This turns the canvas from pure exploration into a browsable gallery.
Video textures. Replace static images with THREE.VideoTexture. The architecture doesn’t change; just swap the texture source. Consider pausing videos for planes outside the fade threshold to save decode costs.
Dynamic content loading. Instead of a fixed media array, fetch content based on chunk coordinates. Chunk (5, -3, 2) could request images from /api/chunk?x=5&y=-3&z=2, enabling truly infinite, non-repeating content.
Depth-based theming. Use the Z position to shift color grading or fog density. Deeper layers could feel hazier or tinted, creating visual “eras” as you zoom through.
Collision-free layouts. The current random placement can overlap planes. A more sophisticated generator could use Poisson disk sampling or grid snapping to guarantee separation.
The real takeaway is the pattern itself. Once you understand how to stream a world around a moving viewpoint, you can apply it to maps, timelines, data visualizations, or anything else that benefits from the feeling of infinite space.
